
Replacing Windows in Older Apartment Blocks: Survey, Removal, Installation and Acceptance
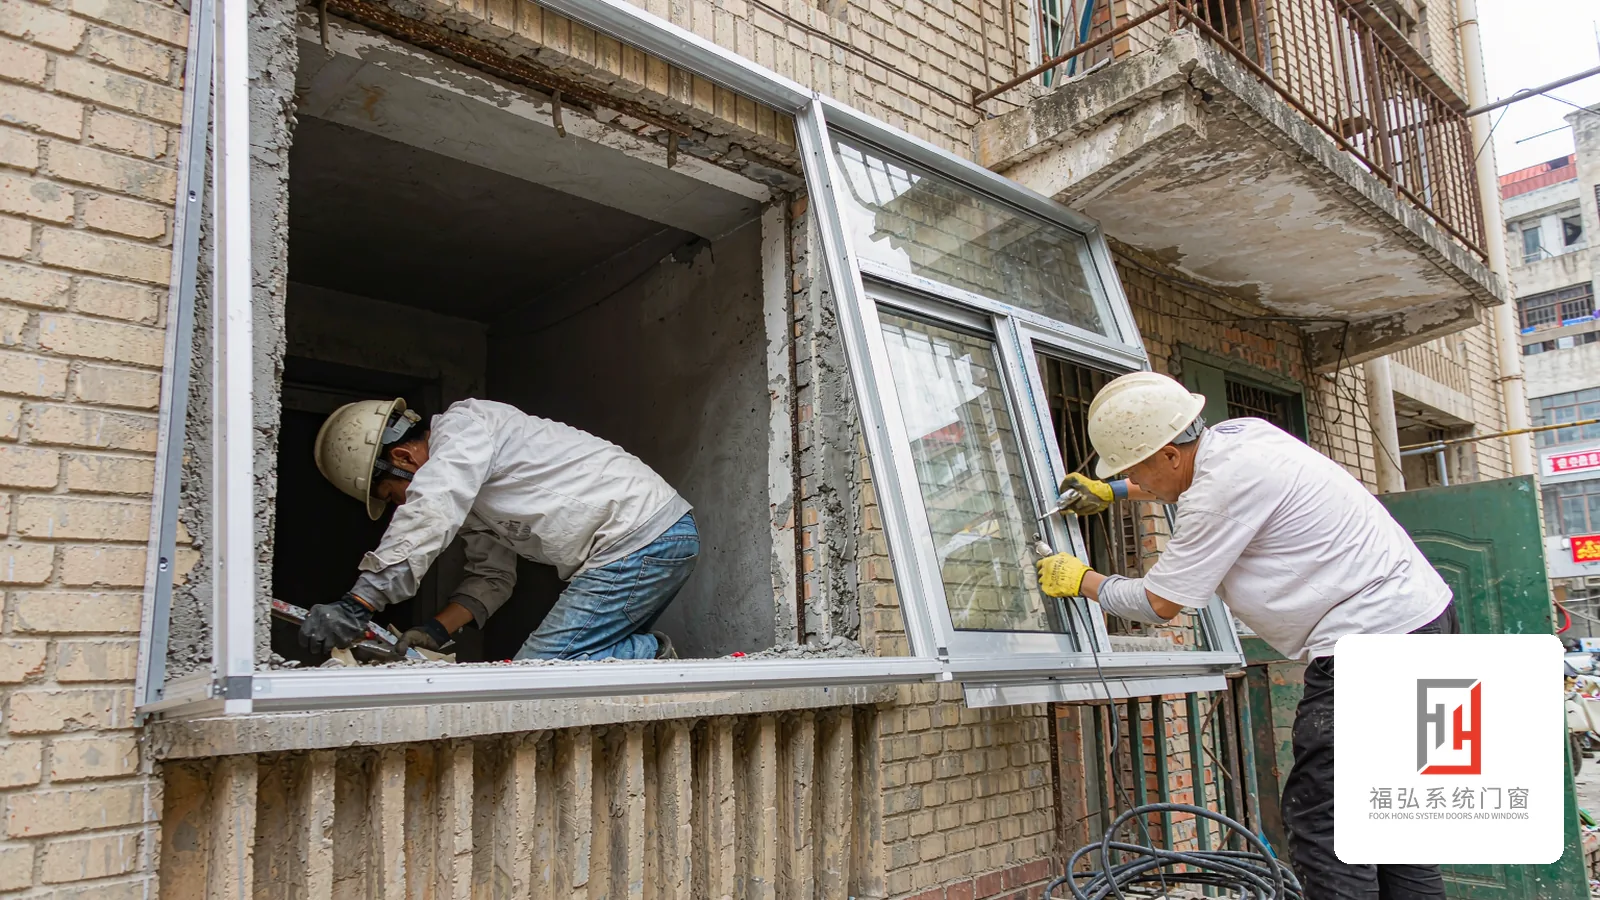
Replacing windows in an older block is far trickier than in a new build: crumbling plaster, out-of-square openings, property rules. Here is the full process from survey to acceptance, and what to confirm at each step.
Replacing windows in an older block is not hard because of the product — it is hard because of the site: openings out of square by centimetres, crumbly plaster, old security cages and canopies outside. Done in the right order it takes a day or two; done badly it ends in draughts, cracked plaster and disputes with the property office. Here is the sequence.
Step one, the survey. A proper survey is not measuring four sizes; it checks the opening condition, whether the sill needs levelling, and where the old fixing points are. State your requirements now — acoustic glazing for roadside bedrooms, insulation for top floors — because the survey determines the quotation and glass specification. Confirm three things: opening direction and position of vents (they affect curtains and furniture), whether the stone sill will be replaced, and the property office's rule on exterior frame colour — real cases have been forced to redo work over this.
Step two, removal. Demolition vibration loosens surrounding plaster, so crews protect interiors with film and tape and move furniture a metre back. Old frames and glass are removed per the estate's rules. If the estate restricts noisy work to weekdays, write the schedule into the contract.
Step three, installation. The standard sequence: clean the opening, fix the frame, fill with foam, hang sashes, seal, fit and adjust hardware. The step most often botched is foam filling — the gap between frame and wall must be filled continuously with expanding foam, not skimmed with mortar. Mortar is rigid; it cracks with thermal movement and leaks air. Sealing must be done in suitable weather: adhesion suffers in rain or below 5°C. Every completed window should be adjusted on the spot before the crew moves on.
Step four, acceptance — a checklist you can use: check the four corners for clean joints; open and close every sash ten times for smoothness; clamp an A4 sheet in the closed sash — if it slides out easily, compression is insufficient; run water along the outside of the frame for five minutes with no seepage inside; inspect glass for scratches and sealant lines for straightness. Sign the acceptance form only after all items pass; the warranty starts from that date.
Finally, the paperwork: a proper contract includes the window layout drawing, full specification of profiles and glazing (wall thickness, thermal-break width, glass build-up), hardware brand, schedule and warranty terms. Keep the acceptance form and warranty card for future service calls. With a thorough survey, correct sequence and strict acceptance, an old flat can be as quiet as a new one.