
Great Windows Are 70% Installation: Twelve Details a Veteran Checks
The same window in two homes can perform worlds apart, and the difference is installation. Here are twelve checkable details, from opening preparation to hardware adjustment.
The industry saying goes: thirty percent product, seventy percent installation. Owners who spend heavily on a premium system window yet end up worse off than a neighbour's ordinary unit are almost always the victims of poor installation. Here are the twelve checks a veteran makes — you can tick them off on your own site.
1. Opening preparation. Dust, mortar crumbs and release agents must be cleaned off before the frame goes in — foam stuck to dust loses half its adhesion, a root cause of draughts and leaks.
2. Fixing spacing. Frame-to-wall fixing plates must be no more than 500 mm apart, with points within 150 mm of corners and ends. Crews that fix one metre apart will see frames loosen under wind load.
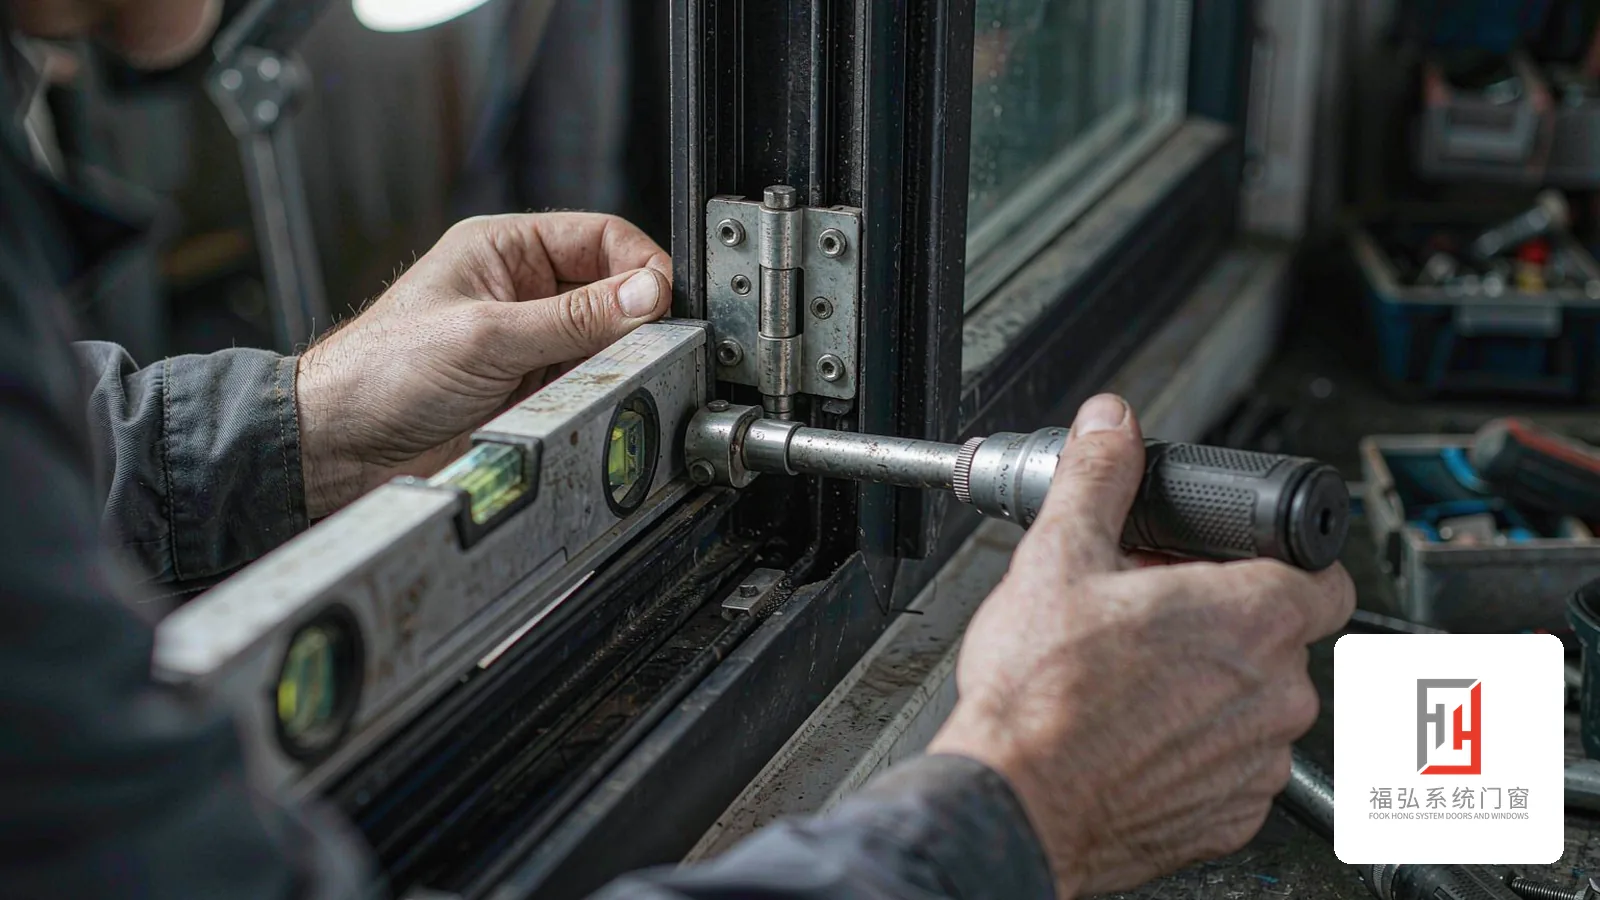
3. Level and plumb. A spirit level against the frame: diagonal and vertical tolerances matter. A twisted frame means misaligned sashes and uneven seal compression within months.
4. Full foam filling. The gap between frame and opening must be filled continuously — shine a torch along it, dark spots are voids. Exposed cured foam must be trimmed and covered; sunlight powderises bare foam.
5. Neat exterior sealant. The frame-to-wall joint outside needs continuous weatherproof silicone, straight and even, unbroken at corners. Bubbles, cracks and ragged widths betray sloppy work.
6. Clear weep holes. Drainage slots in the bottom rail must open downward and stay unblocked. Pour a cup of water into the track — it should drain out promptly.
7. Setting blocks. Glass rests on setting blocks at defined corner positions; missing or misplaced blocks let the glass sag and shift, which shows up later as heavy operation.
8. Continuous gaskets. Corner joints must be welded or moulded, not simply butt-cut — butt joints shrink in winter and open gaps. Run a finger along all four sides; any sharp seam fails.
9. Hardware adjustment. Locking points need correct engagement depth: too shallow and the sash is not tight, too deep and it drags. Smooth operation, firm locking, no play.
10. Hinge levelling. Tilt-and-turn units need extra tuning: tilt angle, hinge tension and the mis-operation inhibitor, tested through ten full cycles with zero snags.
11. Protection film stays on until acceptance. Do not let crews peel it early — once off, scratches become a dispute.
12. Clean site and documents. No debris left behind; you should receive the layout drawing, the specification sheet and the warranty card.
Items 1, 2, 4, 5 and 6 decide whether the window leaks; 7 to 10 decide how it performs in year ten. If in doubt, ask the brand's own QC to attend — a serious manufacturer has this checklist and will walk it with you.